Intelys C3000 vise clamps

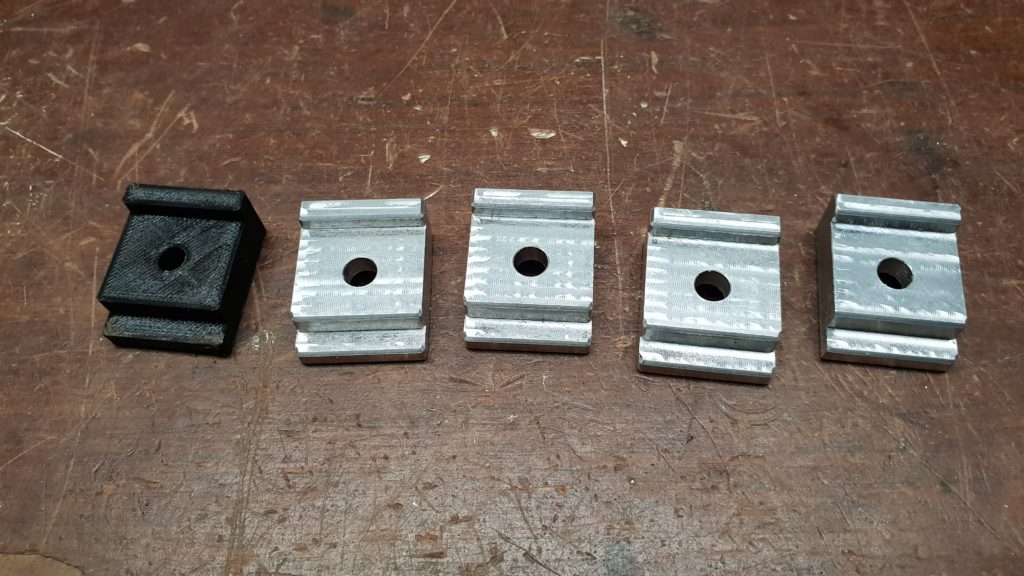
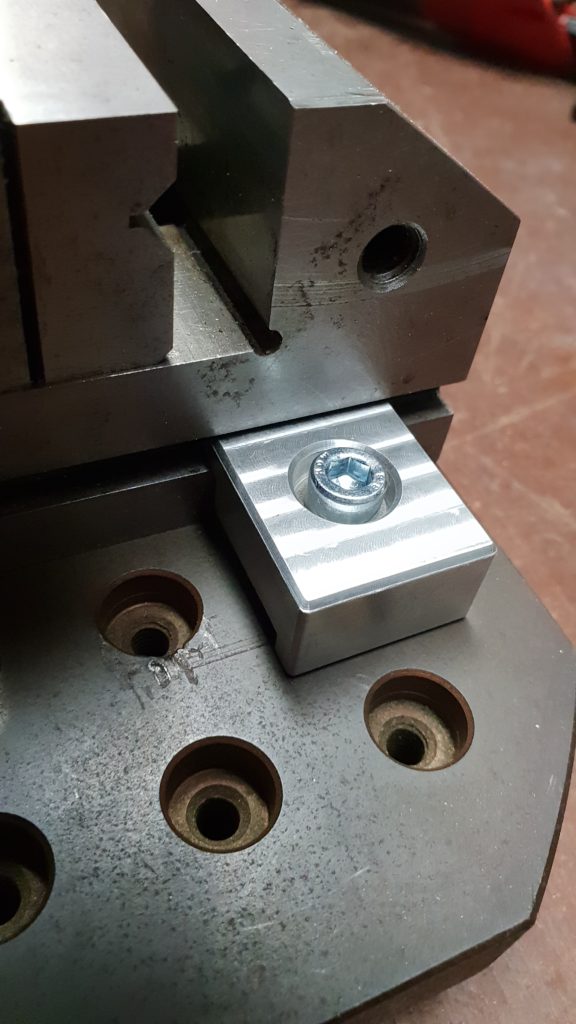
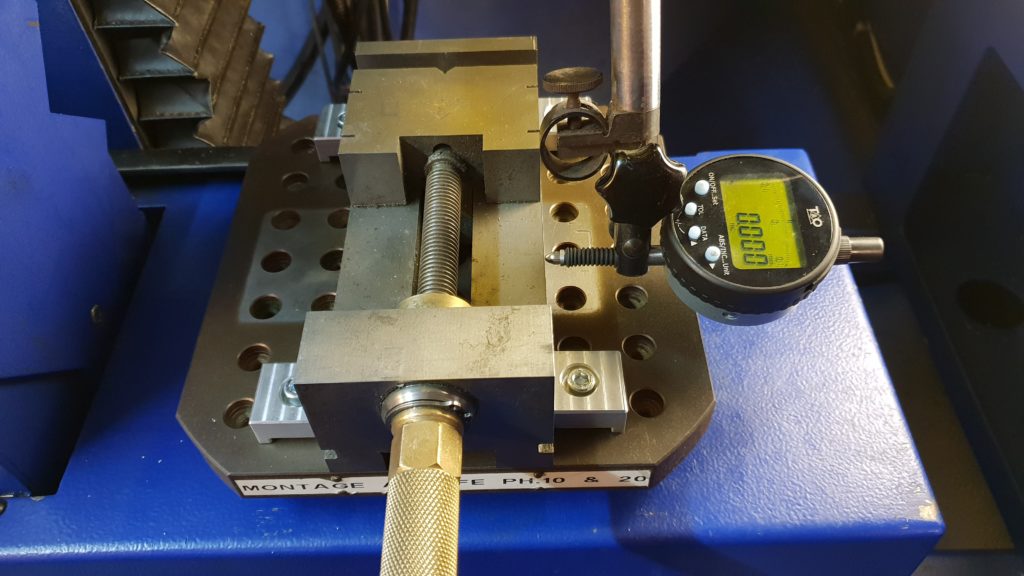
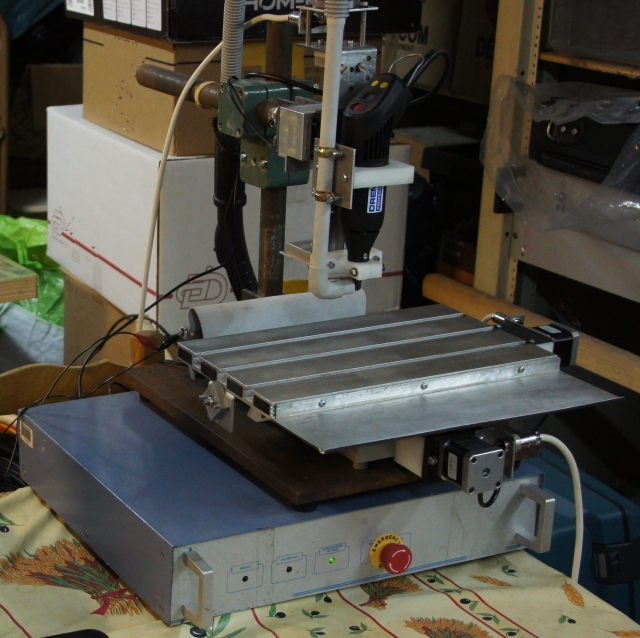
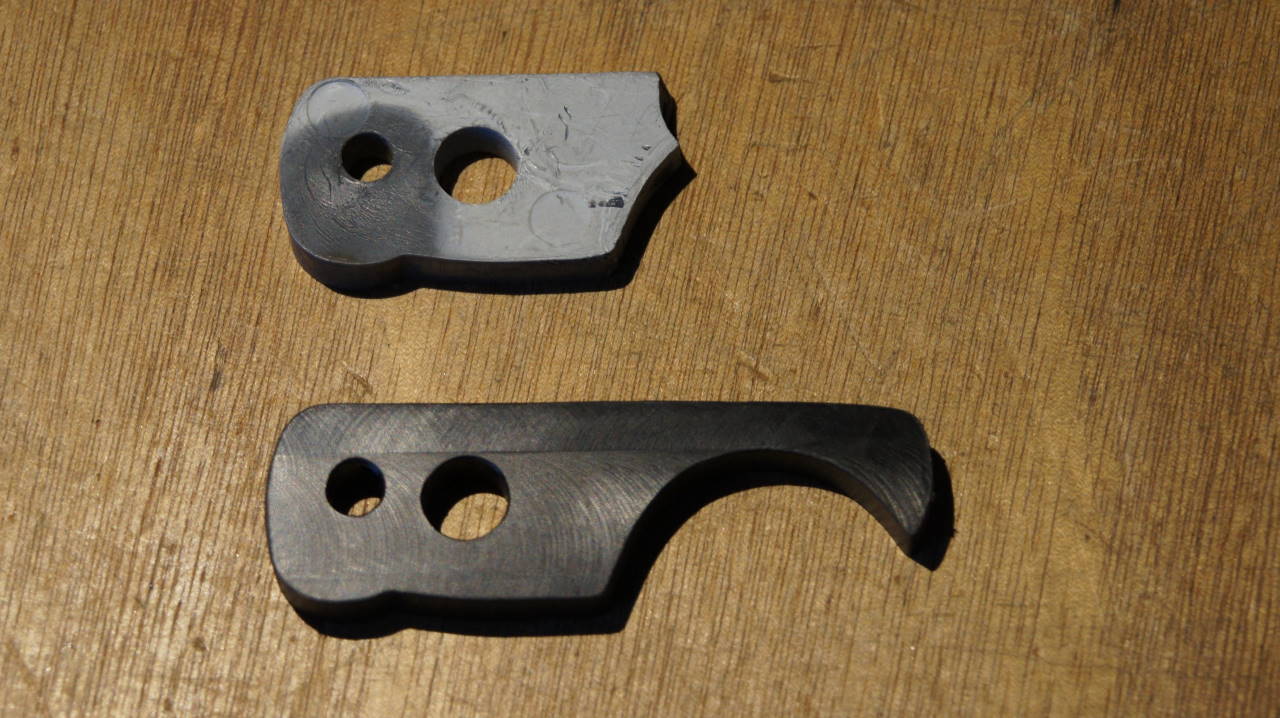
Time to machine some aluminum clamps for a nice vise.
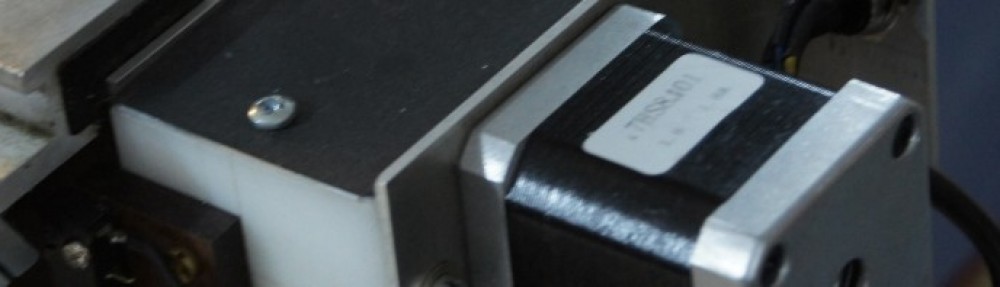
To be used on the palet of my Intelys C3000.
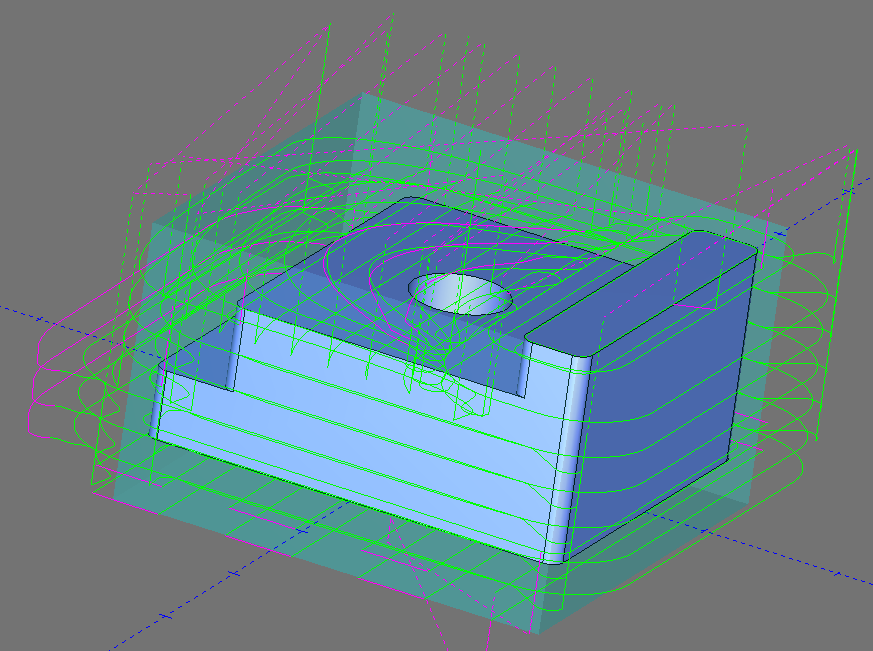
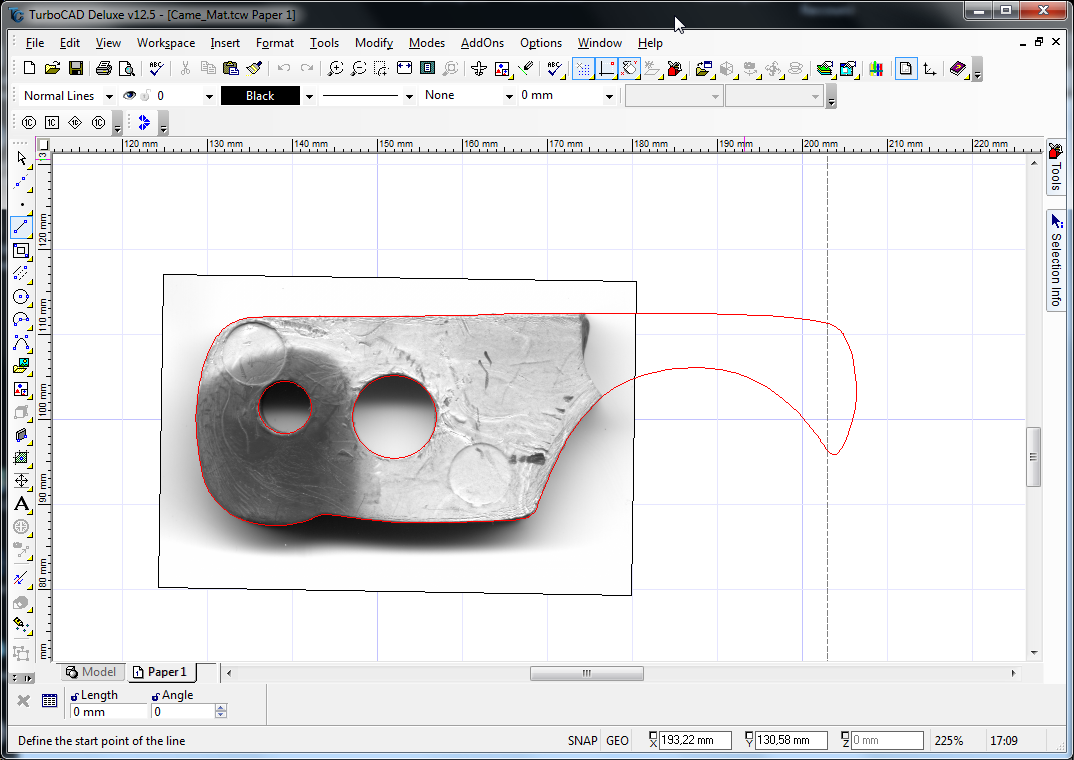
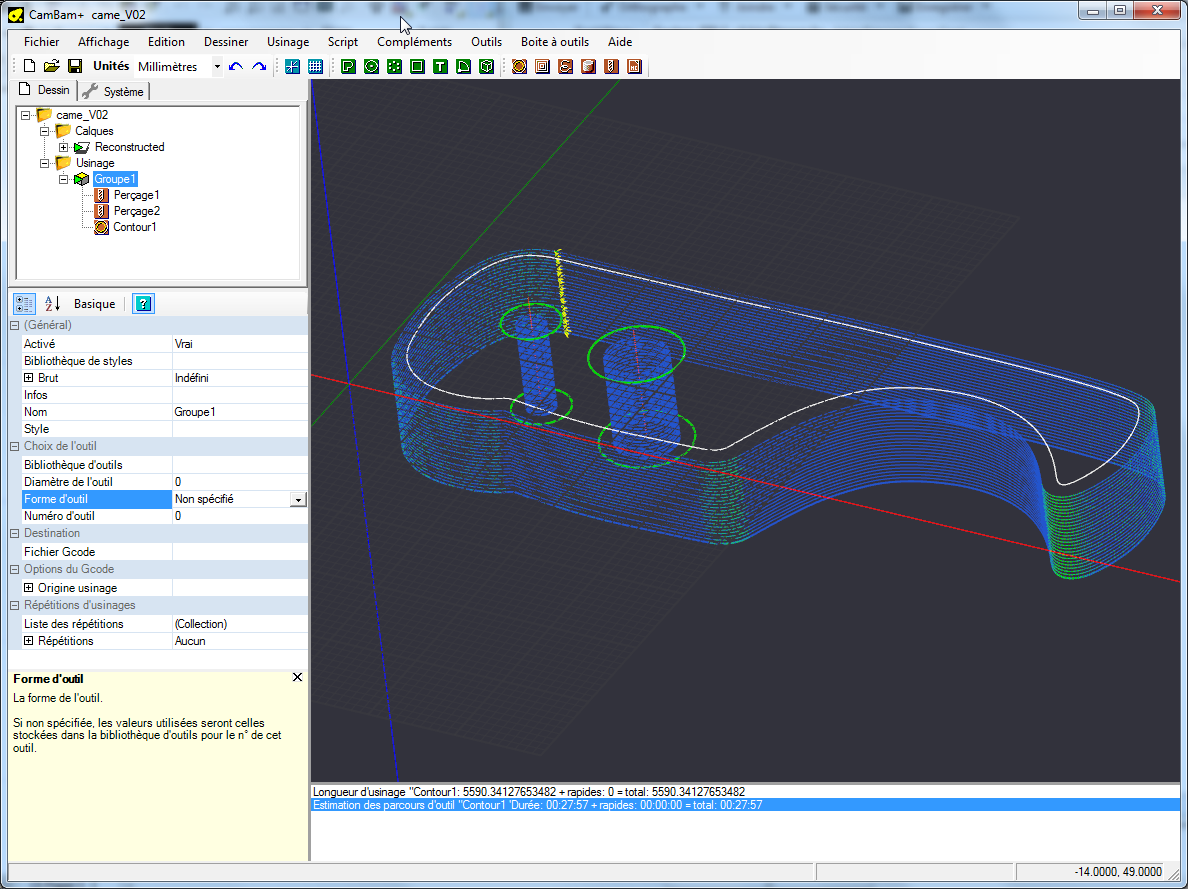
First time I am using 3D printing to check the part before wasting material and time with CNC milling: very useful, let me fix some design flaws before machining!

Toolpath calculation with BobCAD-CAM
3D printed prototype, compared to 4 aluminum parts machined on a CNC-6040
Clamp installation
Vise alignment

Intelys C3000 retrofit

My first experience with Machinekit: the retrofit of an old Intelys C3000  machining center! Three months of work with many new things to learn:

  • Beaglebone Black configuration and interfacing
  • PRU integration
  • Machinekit compilation and configuration
  • QML programming to modify Machineface
  • Setup of a X86 VM to execute my machine configuration in simulation mode
  • PCB routing with Target3001! EDA
  • How to engrave a PCB with a CNC router
  • and lot of fun

Many thanks to the Machinekit and LinuxCNC community for helping me on some tricky configuration issues.

The customized Machineface GUI is available from https://github.com/f1oat/Machineface

Laser sweeping mechanism

Here is an old project now almost finished: a stepper motor based laser sweeping mechanism to be used with DAVID-Laserscanner. The design has been done with ViaCAD 2D/3D. CNC G-Code file generated with CamBam.

Planetary Gear Box V28

The stepper motor is used with a planetary gear box of 1:100 ratio. This gives a resolution of 0.018°.

The electronics is based on:

  • Arduino Uno
  • Adafruit motorshield
  • Custom board for laser and light control

The different parts before machining the box:

20130324_232808_800x600

The mechanical elements has been machined with a CNC-6040 router.

20130929_101639_1024x768

20130929_190653_1024x768

Next step is the machining of the Laser support axis.

Full project description here: http://blog.f1oat.org/david-laserscanner-laser-sweeping-mechanism/


First real workpiece

After lot of tuning of my CNC mini-mill, a first real project: the remake of a broken part from a radio mast.

Step #1: an image of the broken part is done with a scanner. Then, the object is reconstructed within TurboCad V12 with a red spline.

Broken part graphical reconstruction

Step #2: the toolpath is computed with Cambam CAM software

Cambam toolpath

Step #3: machining on my homebrew CNC mini-mill

Homebrew CNC mini-mill

Step 4: the remade part with POM-C material

Remake of the broken object

Zoom on the remade object